I am so in hopes of getting a milk cow this next year. Of course, I will have lots of milk to work with if that happens. So I am trying to get more familiar with different dairy products so that I can be ready to handle the volume of milk that a cow can produce.
I haven’t purchased sour cream and cream cheese since I started making them in November, so I figure that is a small start. Monday I started some buttermilk which is basically the same as the sour cream just with milk instead of cream. I incubated the buttermilk in the yogurt thermos that I purchased at Goodwill in 2009, for $3.33. (Okay so the receipt was still in the box. I’ve known for a long time I wanted to do this, but…)
I also tried my hand at mozzarella cheese. Our family LOVES cheese! So if I can get the hang of mozzarella and later cheddar we will cut down significantly on our trips to the grocery store. This is all so EXCITING to me! Can you see my great big smile?!
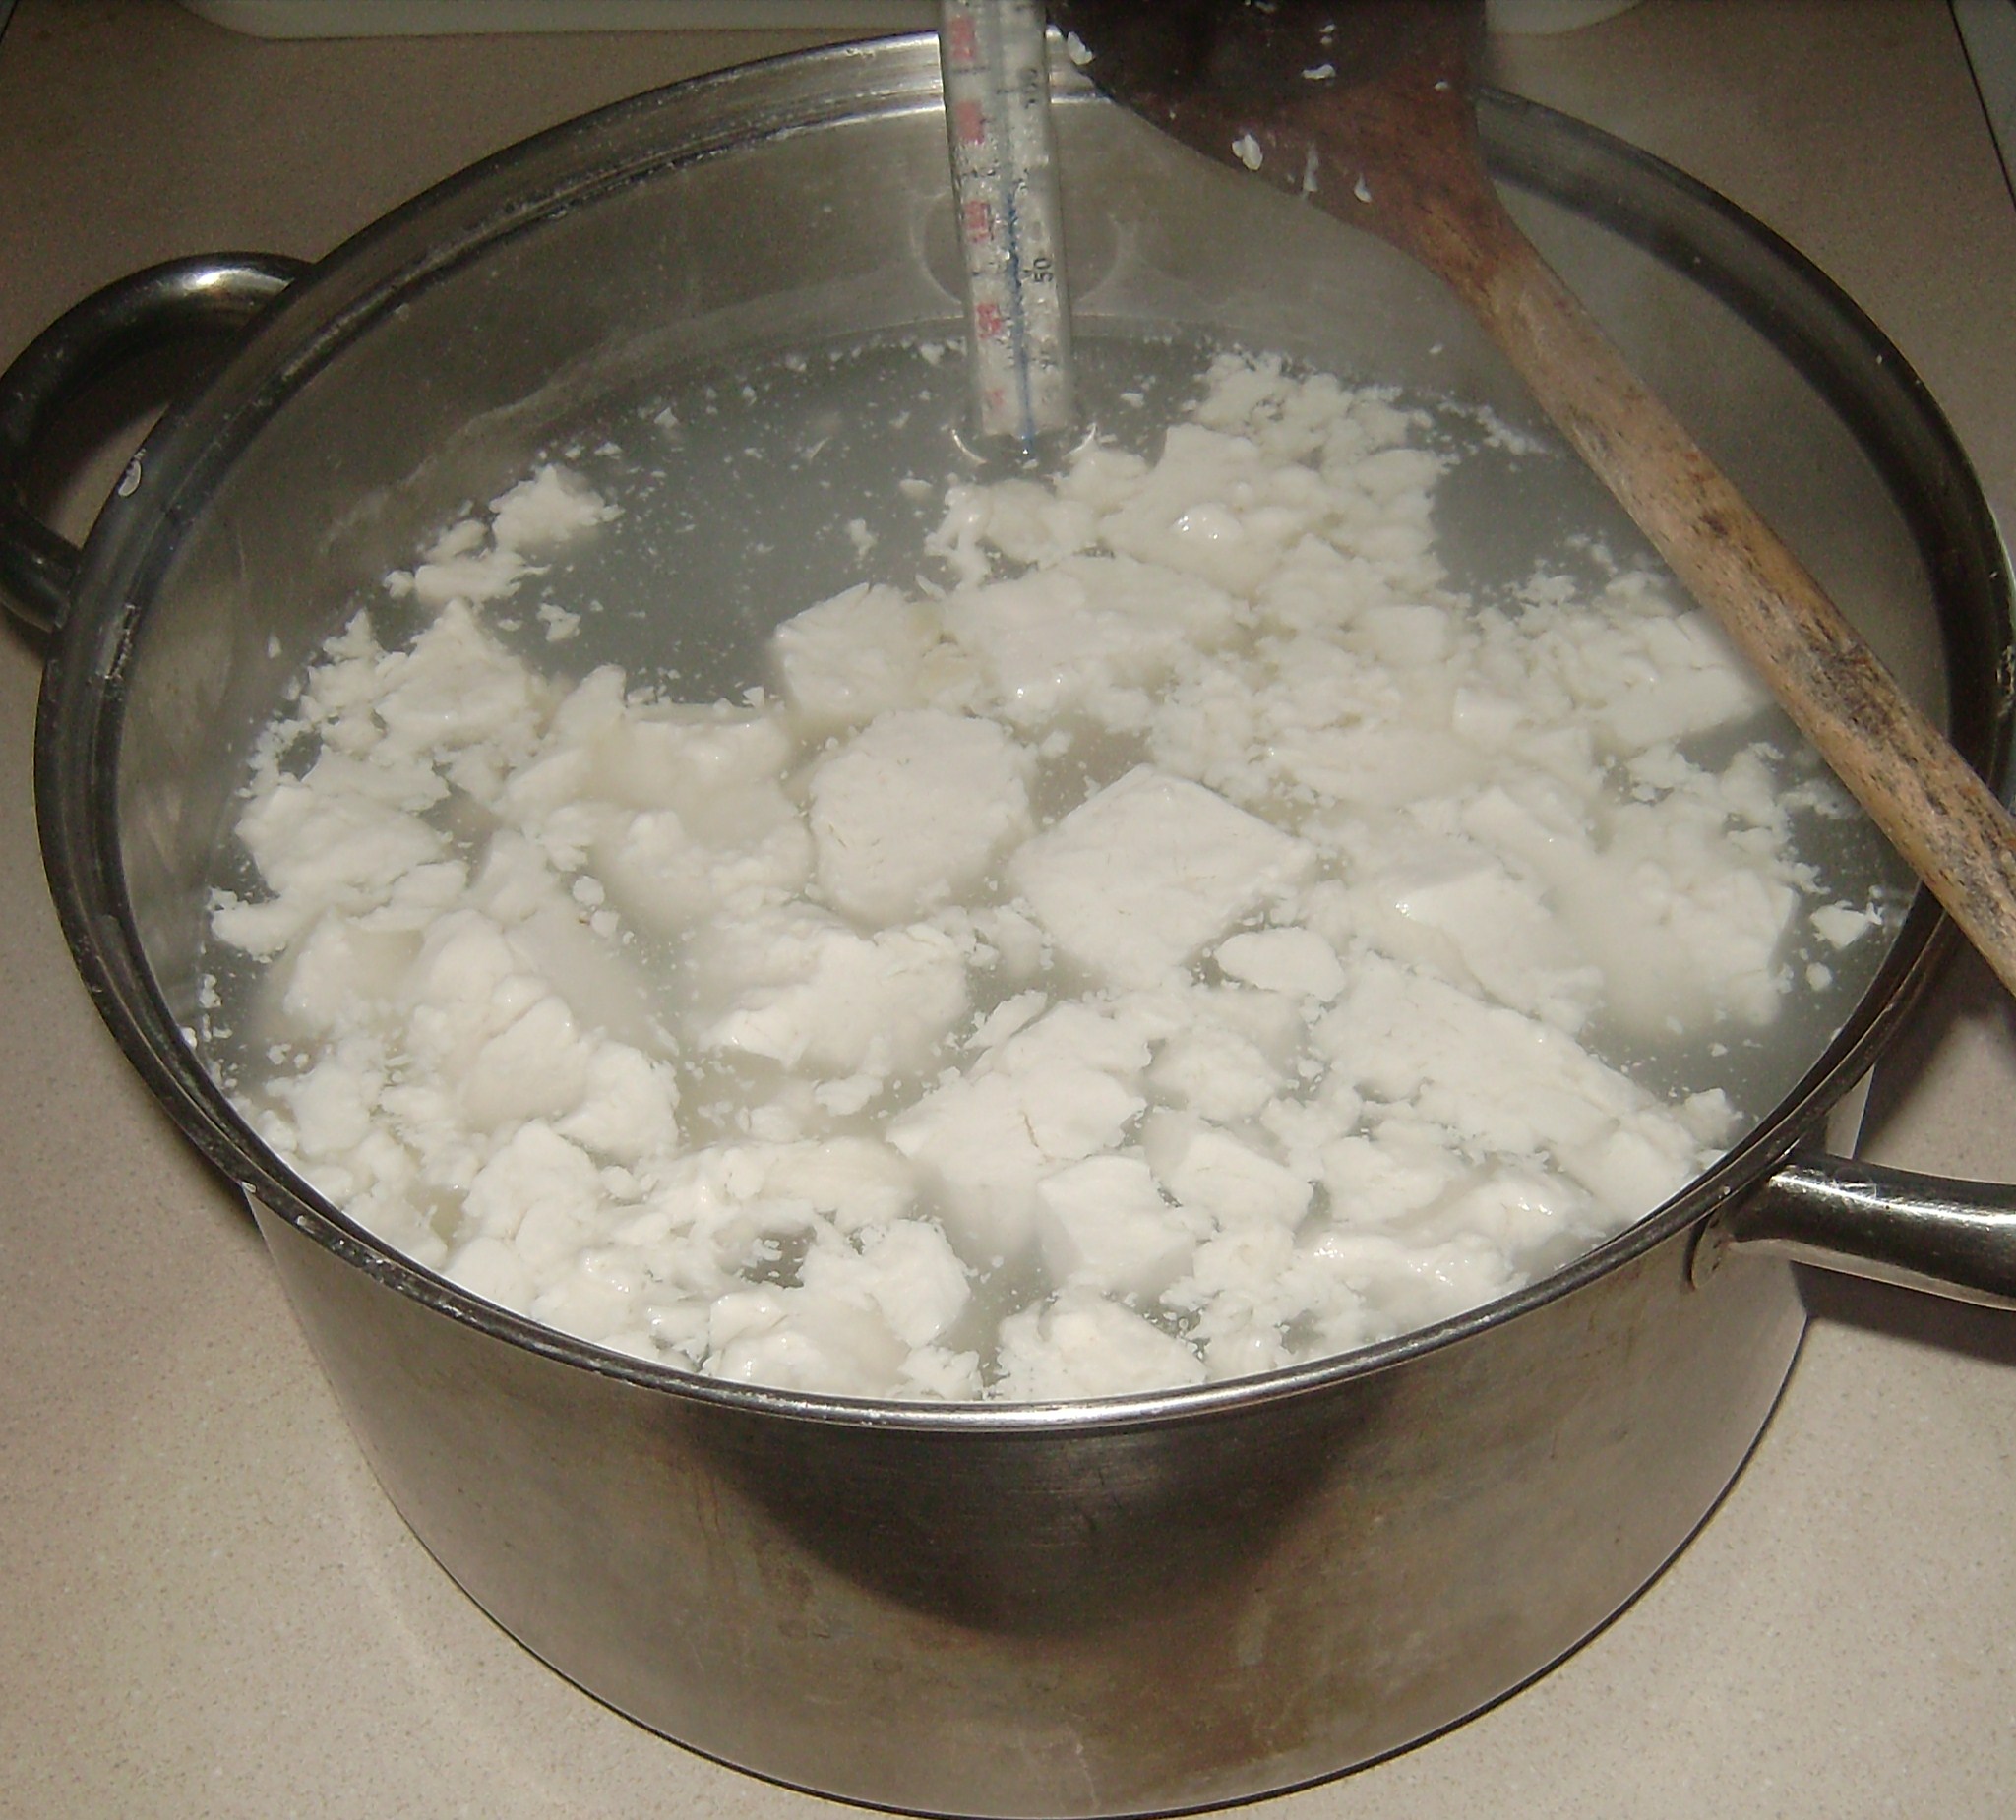
Well the mozzarella doesn’t look very pretty but it tastes good. LOL Apparently the pH was off. When it came time to stretch the mozzarella it just simply wouldn’t stretch it would just break apart. I ended up just making it into small mozzarella chunks.
The good news is that we all like the taste of it. I am determined to learn how to make cheese so I will keep practicing until I can “get it.” I am definitely going to get the pH strips so that I can take some of the guess work out cheese making.
I am thankful to be learning so much on our journey to be more self sufficient! I am also thankful for those who are so willing to teach!
Do you make your own cheese? What types do you make or would you like to make? Do you have any tips for those of us just beginning this journey?
Blessings,
Jennifer
Linked to: Homestead Revival Barn Hop
Join us for Gratituesday at Heavenly Homemakers!


I just found you through the barn hop. I have made mozzarella few times and twice my cheese never stretched , but the times when it did this is what I did. Once the curd has set it is cut and left for 20 minutes. The curds are then heated to 100deg Fahrenheit. Leave them for 5 min then drain into a cheesecloth and hang for a few hours. About 2 should be enough. After that, heat your salted water to 170 deg and place cheese that has been cut to 1/2 inch cubes into water. Keep at 170 deg and start pressing cheese together with wooden spoons till they start stretching when lifted out the water. I do this for a few minutes(maybe 5) and then lift all the cheese onto a plate. I cut the cheese into 2 or 3 pieces, roll them into balls, squeeze some of the water out and place them into a bowl of cold water. Once cool, they go into a bag or bowl in the refrigerator. It is fun making your own cheese. Hope they stretch for you next time.
Thanks for the insight! I am already looking forward to trying it again.
I have yet to try this but am hoping to at some point! Found you through the Barn Hop. 🙂
Thanks for stopping in!
Hi Jennifer! Your post caught my eye at the Homestead Barnhop as I’m in the thick of cheesemaking season right now (you think I’d be sick of it!) This is my second season of cheesemaking and I do mozzarella more than anything else. I posted my method here if you’re interested in checking it out: http://onjustacoupleacres.blogspot.com/2010/10/traditional-mozzarella-cheese-recipe.html It has a little tip at the end of how to check the acidity of your curds to see if they’re ready for stretching.
I’m wondering if your curds crumbled at that point if you didn’t cook them too hot somewhere along the way. That happened to me just yesterday- I was distracted for just a moment and before I knew it I was reading 6 degrees to high! I went for it anyway and they just disintegrated in the salt bath or between my fingers looking much like yours did in the water. At any rate, I hope you get it all figured out 🙂
That makes complete sense! I didn’t remove it from the burner right away when it reached 90* because I was running back and forth to the computer reading directions and couldn’t remember what I was supposed to do next. When I got back the temp had continued to go up.
Thanks for the tips! I am going to try your method next time.:)