Rented pastures can be a blessing and a curse all at once. Many times the infrastructure is limited and as renters we hate to sink money into a permanent system. On the other hand, it is cheaper to rent pasture than to own it; so by renting we can increase the number of cows we can run without increasing our debt load.
This year we decided that we needed a second water source in order to better utilize a rented pasture. There are actually two pastures next to each other. The smaller pasture is about 13 acres and has a small pond and a well (that we know nothing about). The other pasture is 40 acres with no water source. We have two separate custom grazing herds (owned by two different owners) that we wanted to graze on the 40 acres. So the first thing we did was to divide the 40 acres in half with a single strand hi-tensile wire.
Next we needed to have two separate sources of water. There is a concrete tank behind the pond that we were in hopes that we could get to work. However, it appears that the line is stuck in the mud in the pond (gotta love Missouri mud!) We can water one set of cows in the pond (which is not desirable but with the current situation we have limited options), but we need a second watering location.
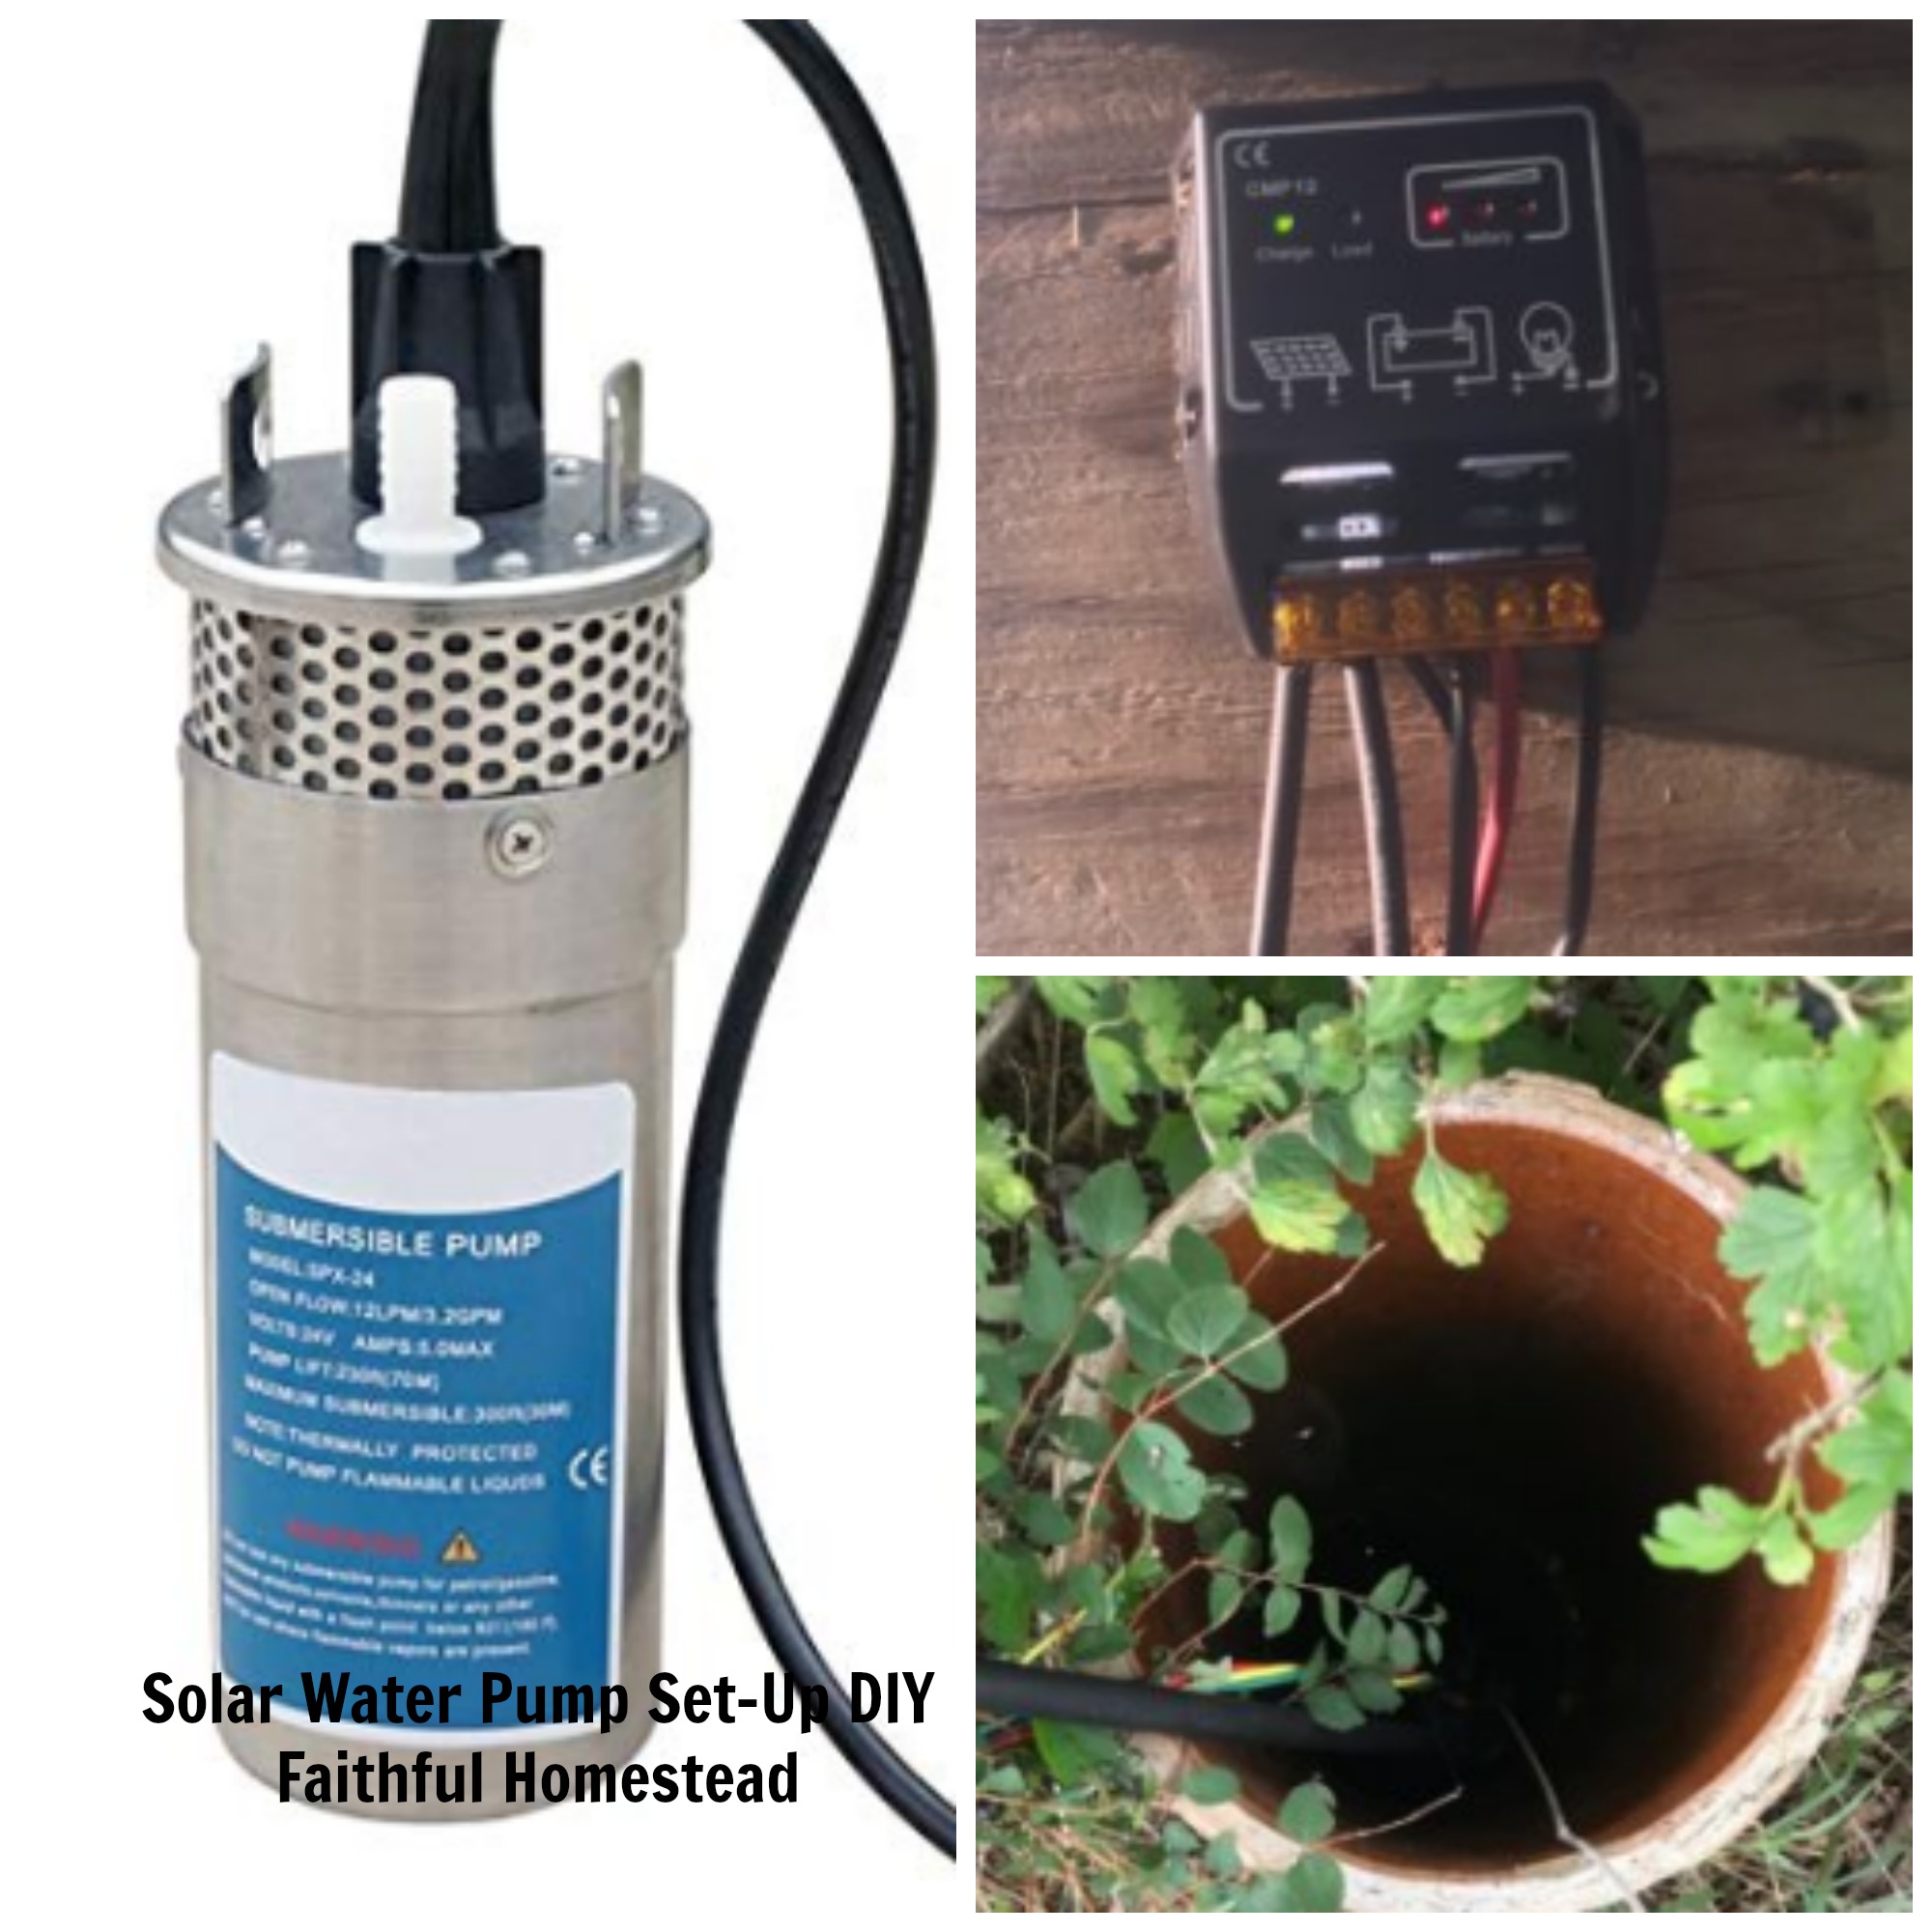
So it was off to Plan B, try to set up a water tank that is fed off the well. We purchased a solar water pump, charge controller, 1 new deep cycle 12 volt battery (we had a second battery that we have used to power a solar fencer in the past) and a 100 watt solar panel. This system has involved a lot of trial and error. We know nothing about the well so we don’t know if it dependable enough to keep up with the 20 cow-calf pairs that we are hoping to water through the summer.
If the well doesn’t keep up, then Plan C will involve hooking the submersible pump to a float and installing it in the pond. We will then have to devise some way to protect it from the cows that are watering directly from the pond or add a second system.
Here is how we set it up:
The first order of business was to determine how deep it was to the top of the water and then the depth to the bottom of the well. We tied a half brick on the end of a plumb string and began lowering it into the well. When we heard the water splash we marked the string and pulled it back up. We then measured this length with a 100′ tape. We determined that the top of the water was 25′ deep.
Next we put the brick and string back in the well and lowered it until it would not go any deeper. Again we marked the string and pulled it back out. Measuring with the 100′ tape we found that the well was 57′ deep.
The pump we ordered had a 1/2″ barb on the top to install into the water line. With the knowledge of the well depth, we now knew how much waterline we needed to purchase. We got 100′ of 1/2″ black roll pipe which is typically used in irrigation. We purchased it at our local Orschelns but it is much like this pipe. We secured the pipe on the barb with 2 clamps. Sliding the pipe on the barb fittings is much easier if you use a butane torch and gently heat the pipe. It doesn’t take much heat to make the pipe pliable enough to slide right on. You want to be careful not to heat it too much and certainly don’t burn yourself!
The pump we purchased had 9′ of wire connected so the next step was to add additional wire so that we could reach the charge controller under the solar panel. We were able to purchase wire that is designed for submersible well pumps at our local hardware store, it was much like this one.
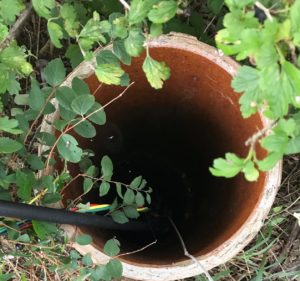
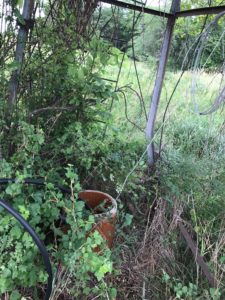
So I managed to not take a picture of the pump before we lowered into the well so for now this is as close as it gets to showing you what it looks like. As you can see, the well casing is fairly large (14″) ceramic tile tiling. There is an old windmill which was used in years past but has been out of commission for at least two decades. We used the windmill frame to attach the cable that holds the pump about 6′ off the bottom of the well.

The solar panel is mounted on an adjustable framework so we can change the angle throughout the year to maximize capturing sunlight.
Battery, Solar Panel and Charge Controller Set-Up
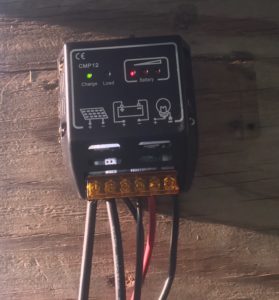
The charge controller is mounted under the solar panel. We hooked the wires up as illustrated by the pictures on the controller.
From Left to Right:
- Solar panel positive
- Solar panel negative
- Battery bank positive
- Battery bank negative
- Pump positive
- Pump negative
The batteries are hooked to the charge controller with the long wires.
Since this is new to us we weren’t (and still aren’t) 100% sure how big our solar panels actually need to be.
Still A Learning Curve, We Need Advice
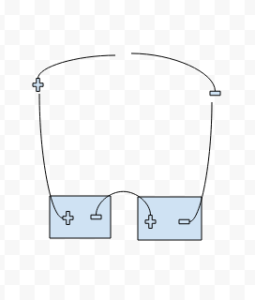
We still don’t have all this perfected. One battery seems to stay charged just fine but the second battery in the series keeps going dead. We have changed out the second battery and still the same thing. At this point, I am wondering what the problem is: do we not have it hooked up right or is the solar panel not big enough? I’d love to get answers!
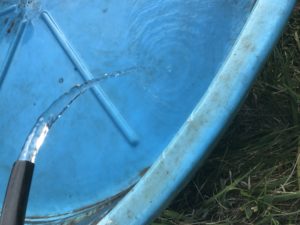
Update- We decided to hook up a second solar panel and put it in a series. This seems to be doing the trick. We are still hoping to tweak it a little more because currently it just overflows the tank.
I am hoping that we can learn more about using solar in other applications as well!
Blessings,
Jennifer
*This post contains affiliate links. These links do not cost extra to you, however we do receive a small commission for anything purchased through the link. This helps to offset the cost of this blog. Thank you for your support!
did you look at the photo on my blog of how the batteries were connected? don’t know if that is your problem, but they certainly have to be connected in the right configuration to work.