We had a blast making our projects using IDO3D who hired me to try out their product and tell you about it.
The kids and I had the opportunity to try our hands at making 3D projects using IDO3D. We had a lot of fun creating our masterpieces! This was an easy craft idea for the kids that would work great for those upcoming snow days!
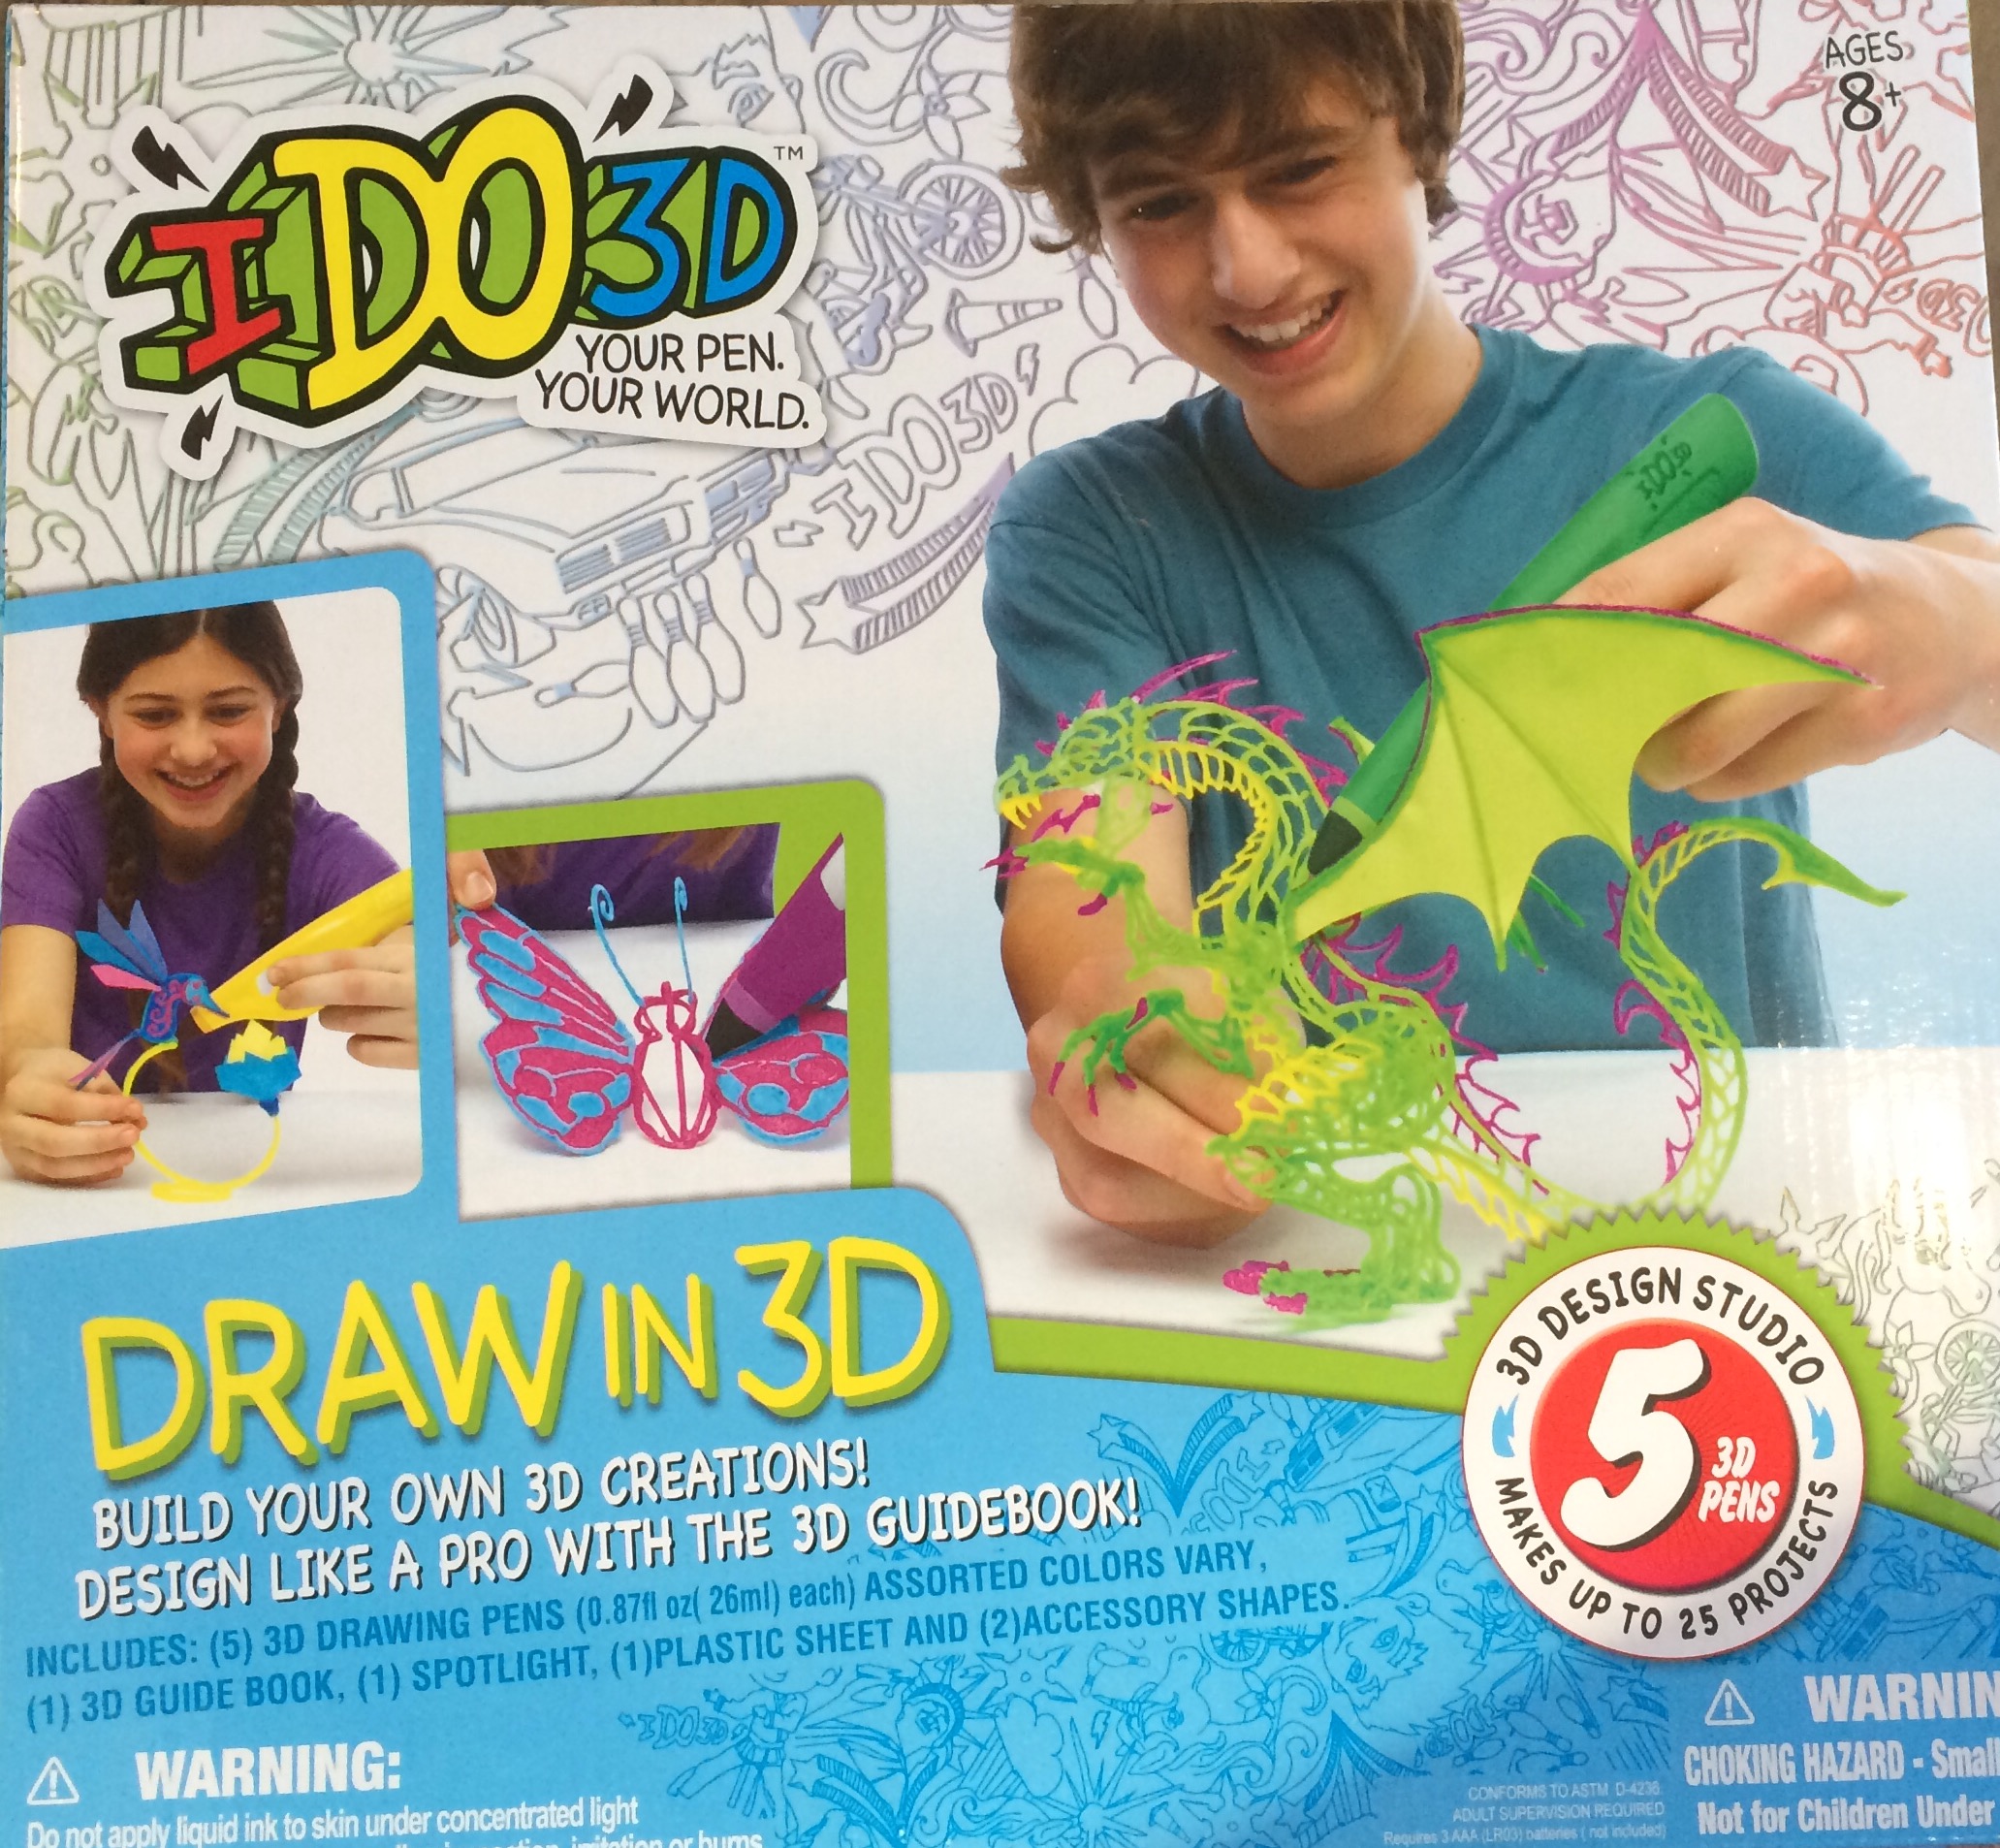
The IDO3D kit contained:
- Five 3D pens (colors vary, but ours included: 2 red, 2 green and 1 yellow)
- 3D Guide Book
- Spotlight (It takes 3 AAA batteries, not included)
- One Plastic Sheet
- One Half Sphere Shape (Plastic Piece)
- One Half Egg Shape (Plastic Piece)
The first step is to determine the pattern you choose to make and if it needs to be done on the flat plastic sheet, the half sphere or the half egg shape. Next you take off the lid on the desired color and replace it with the adjustable top. It was simple to determine how thick the lines were by opening/closing the top.
We found that if they cured the ink just a bit after drawing they could achieve greater detail on their projects. There was a bit of a learning curve involved for the kids, in that, they had to make sure that their lines touched so that the art piece would hold together. Once the projects were cured enough to remove from the plastic sheet I placed them in a sunny window to finish curing. I cleaned the sticky remnants of ink off the plastic pieces using an alcohol pad.
Brock, Adisyn, Eli and Rebekah were able to complete 3D projects by themselves. I helped Quinton squeeze the pen so that he could complete his. We used coloring book pages under the plastic sheet, so that Adisyn, Eli and Rebekah could create Christmas ornaments. Brock also used a coloring page to create a 1965 Mustang. Quinton used the sphere shape to create a ball (one of the projects in the Guide Book).
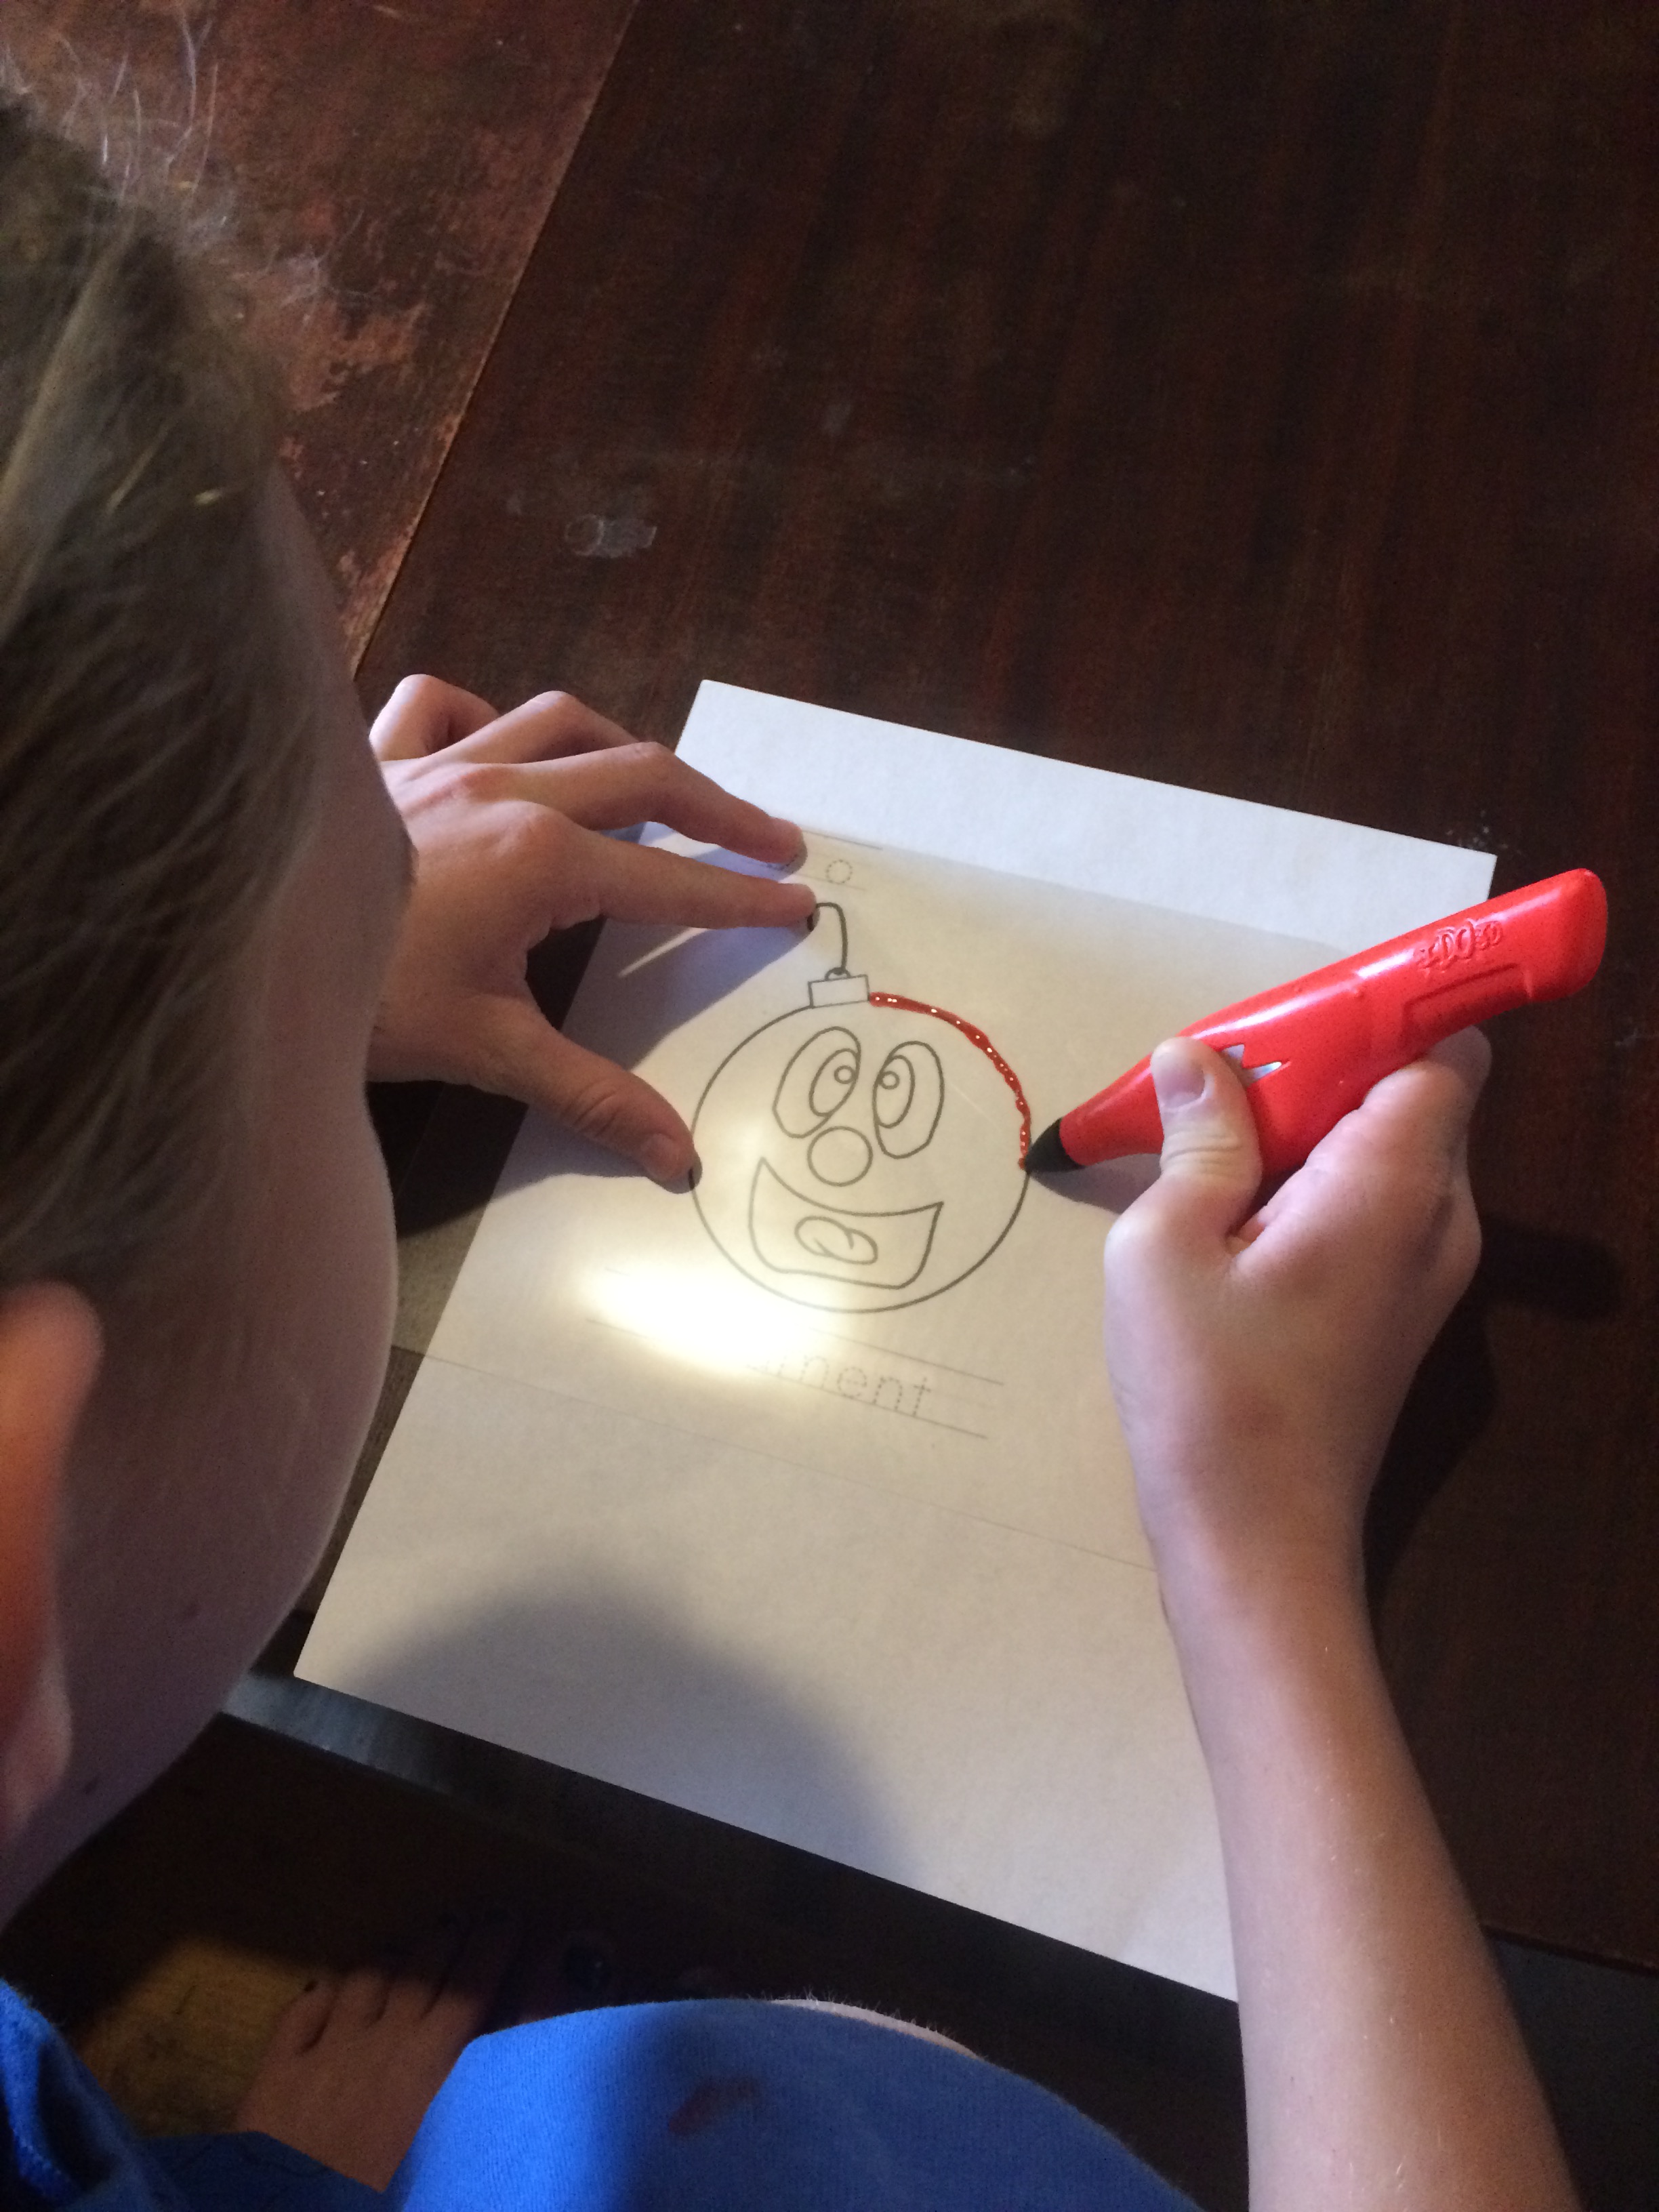
Adisyn beginning her ornament.

Curing along the way.
The kids really had fun creating their 3D masterpieces!! I would recommend IDO3D to those children 8 and up if they are completing it on their own. However, with minimal assistance younger children can create projects as well. (The hardest part for Quinton was being able to squeeze the pen enough to get a steady stream of ink.) This was a fun project and the mess was minimal.
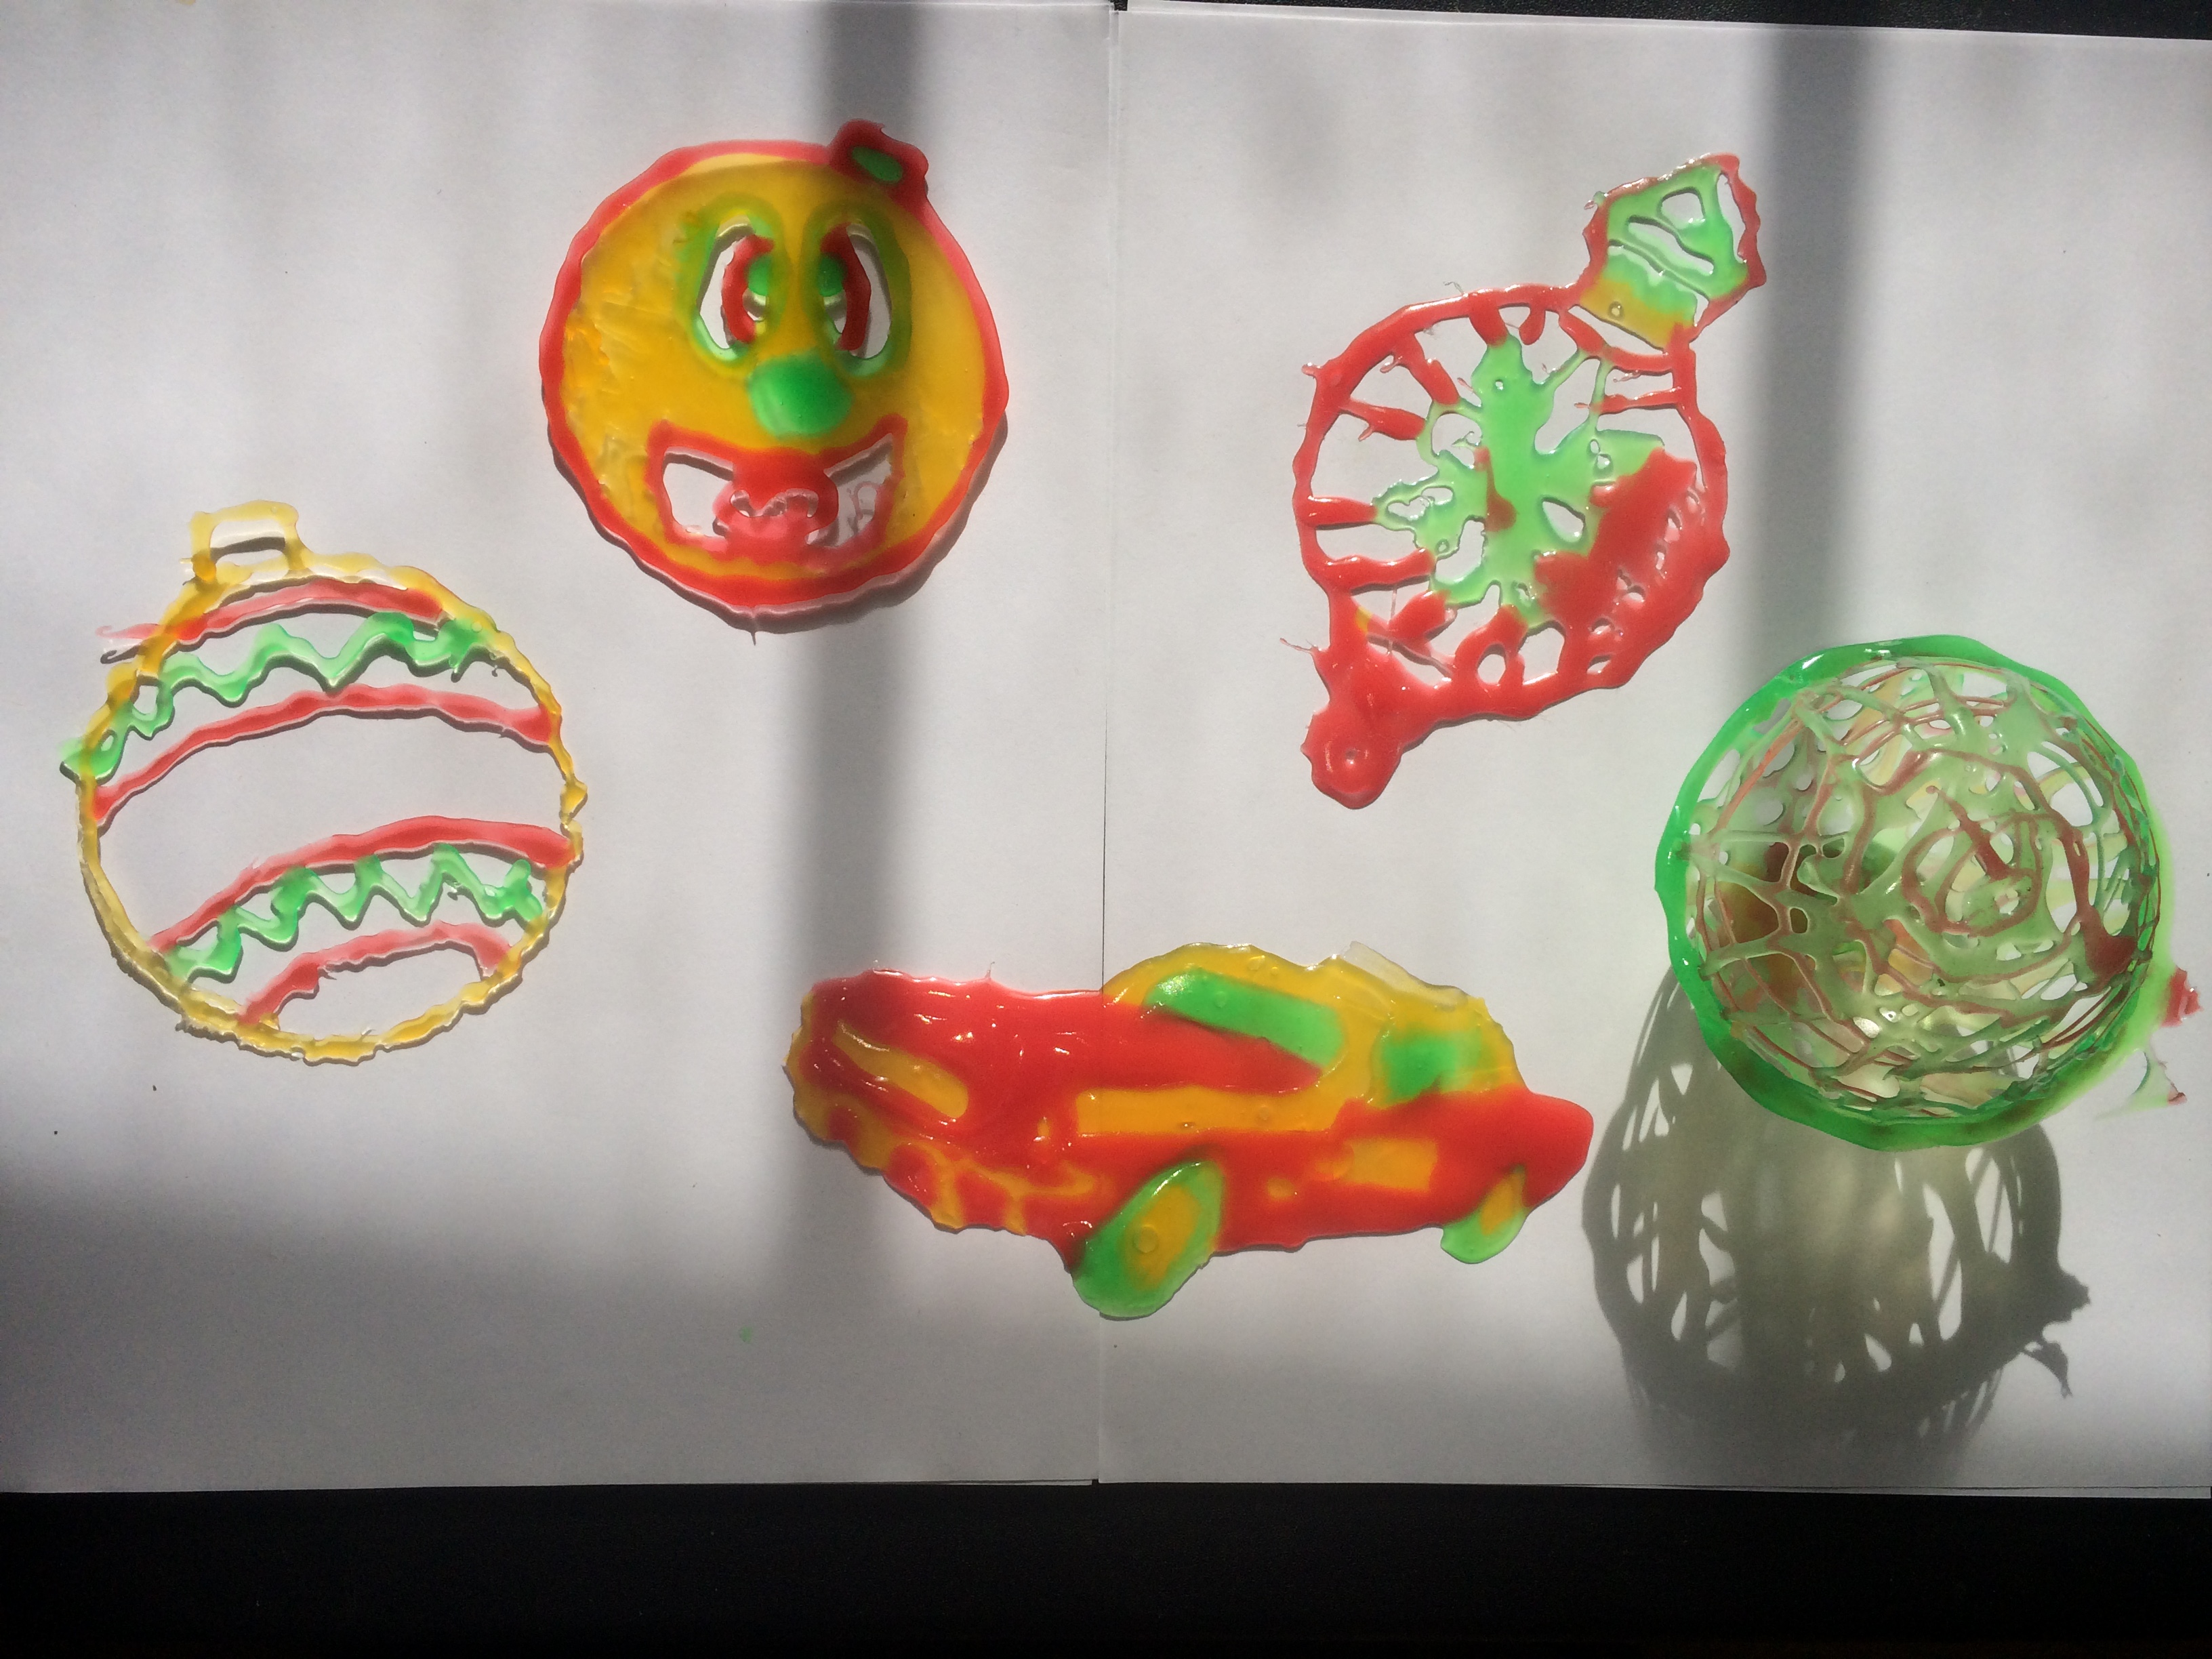
The completed projects: Rebekah’s ornament, Adisyn’s ornament, Eli’s ornament, Quinton’s ball and Brock’s Mustang. (clockwise from left) We put them in front of the window to finish curing.
Blessings,
Jennifer
*I would really appreciate it if you would take the time to sign up to receive an email for each post so you don’t miss anything. You can find the “Subscribe to Blog via Email” button at the top of the blog and enter your email. Thank you!