
One of the things we have inherited with this farm is an aging infrastructure.
The owner previous to us had discontinued using the pump system that pumped water out of one of the ponds. Instead, he switched all of the livestock waterers and hydrants over to rural water.
Every month since we purchased the farm, we have been notified by the rural water district that we are on the leak report. This means that at least one day every month there has been a continual use of water. UGH! No one wants to be on this kind of list..
Previously, we have replaced a water hydrant and a leaking coupler. Each time, water has surfaced near the break in the line. However, I feel quite sure that each time it has taken a while for the water to surface. Most recently, water began to surface near a hydrant that we use daily. At first, it was a small amount and I thought one of the kids had spilled water. However, it soon became evident that it was continually getting wetter. So we knew we needed to replace that hydrant.
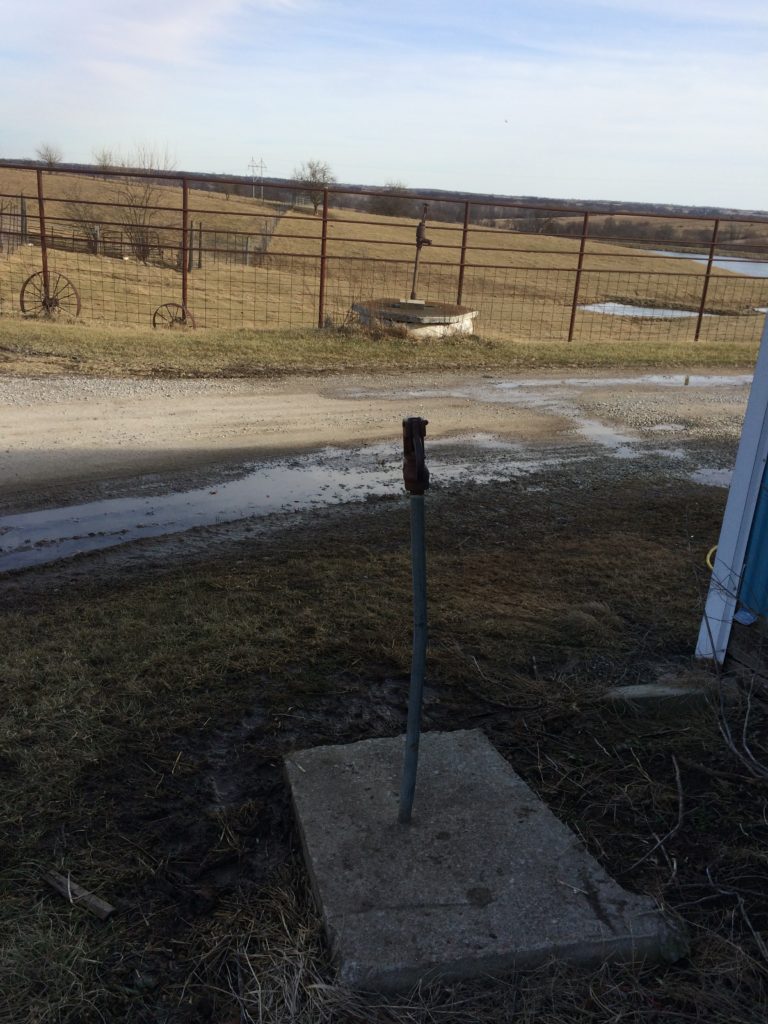
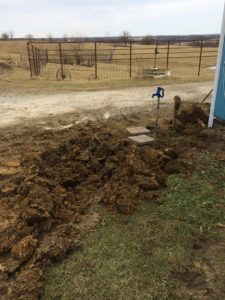
Notice all the water on the driveway and how wet the yard is around the hydrant.
This time of year is extremely busy for Scott as it is calving season where he works. This meant that it was going to be a while before he could fix that leak. Neither of us want our water bills to get any larger, so we decided that I would try to replace the hydrant. Our theory was “nothing ventured, nothing gained” (Benjamin Franklin).
Although I have helped with projects like this in the past, this was the first time that I would be digging out and replacing a hydrant on my own.
Here is what I did:
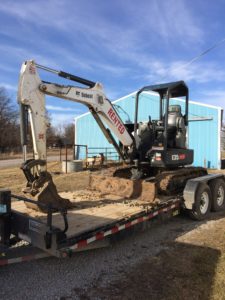
I rented a mini-excavator (a small back hoe) in order to dig out around the hydrant. (This was the easy part.) The guys at the shop where I rented it gave me a quick tutorial before I left. Then when I got it home and unloaded it was all about practice, practice practice. Eli was my right-hand man through the “hole” project; machinery and repair work are right up his alley!
The goats are wondering what in the world we are up to!
Using the mini-excavator, I began to dig beside the hydrant. As I got closer to the depth that the waterline should be buried I went slow, often checking with the shovel to make sure that I didn’t hit the line. It’s important not to cause any more damage to the waterline, you don’t want to have more issues to fix. 🙂 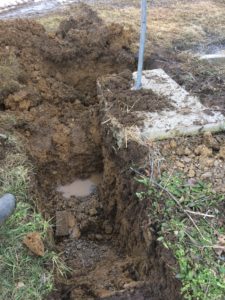
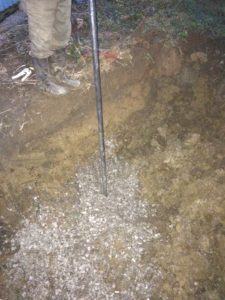
When we were getting close to the problem, we could see clear water coming into the hole before it mixed with the muddy water. I then turned off the water, no one needs a cold shower outside in January!
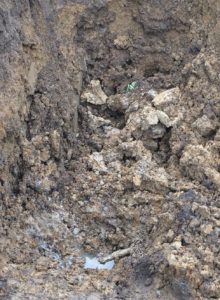
I climbed into the hole to start digging by hand. In the picture below, you can see the line of rust along the buried part of the hydrant.
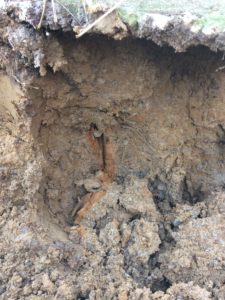
With a little more, careful digging with the mini, we were able to get the old hydrant out and the line exposed.
I waited to purchase the replacement hydrant until after the old one was dug up and the line exposed because we weren’t certain what size line was buried there. So off to town I went to get the new hydrant, the brass elbow that would attach it to the waterline and a high grade clamp. The only other things that would be needed were thread tape and rock to put in the hole and we both of those on hand.

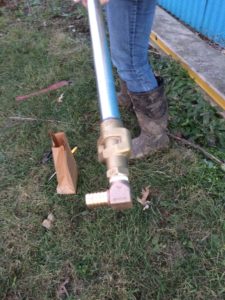
The new hydrant.
Next I wrapped the threads of the brass elbow with thread tape and then screwed it into the bottom of the hydrant. Because we want our hydrant to be freeze proof, we left the drain down opening open (this is a small hole at the bottom of the hydrant). After the hydrant is used and then shut off, any water in the riser pipe will drain back down and out the drain hole at the bottom of the hydrant.
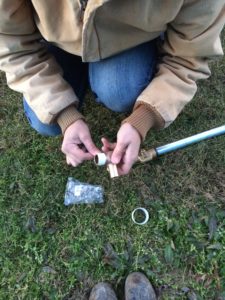
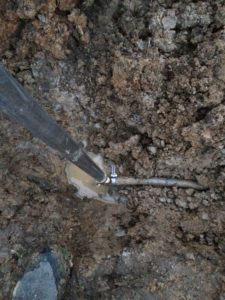
I pushed the barbed end of the brass elbow into the water line and placed the clamp around it. It is extremely important to get the barb all the way into the line and to tighten the clamp very tight. This task can be made easier by heating the waterline slightly with a butane torch (using caution not to overheat it).
The moment of truth: turn the water back on and watch for leaks. Eli and I had a little celebration when we turned the water back on and there were no leaks. Hooray!! Next test was to make sure the hydrant worked. Success!

The only thing left was to hold the hydrant in place and start back filling. I had Eli hold it while I threw rock in the hole. The rock allows the drained water a place to be until it is absorbed by the dirt surrounding it.
Next task, put the mud (it would be easier if it would have been dry dirt. Ha!) back in the hole. Eli continued to hold the hydrant in place while I carefully used the mini-excavator to start filling in the hole. After it was stable, Eli was able to let go of the hydrant while I continued to fill in the hole.
The back filling doesn’t look very pretty because all that clay was so WET, but with time it will dry and we can use the skid steer to make it smooth and pretty. At that time we will put grass seed on it.
I am so thankful that Eli was willing to help. He was great about handing me tools, helping hold things, being another set of eyes…what a blessing!
Blessings,
Jennifer
Linked to:


WOW! Great job! Life on a farm is never dull is it? Thanks for sharing on Homestead Blog Hop!
Thank you for hosting!