
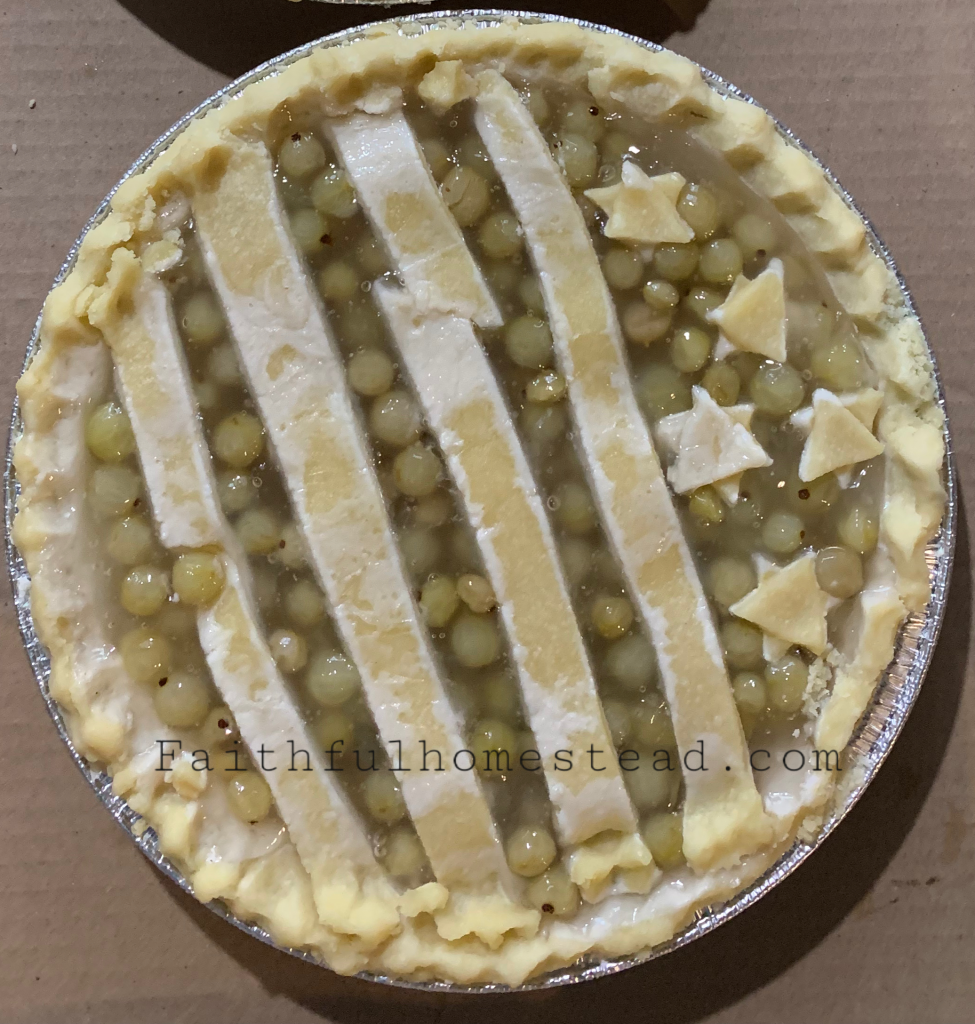
Gooseberries, that tart and tangy treat, lend themselves well to be turned into a pie. That wonderful combination of sweet and tart. YUMMY!

In the United States, Gooseberry season typically runs from June until August. By canning your own Gooseberry pie filling you can enjoy these tangy little fruits throughout the entire year.
Gooseberries can be found in the wild in much of the US, at Farmer’s Markets and at U-pick berry farms. They can also be purchased in bulk in some stores in the frozen fruit section.
Gather Your Ingredients
- 1 3/4 cups Clear Jel
- 7 cups Sugar
- 3 1/2 tsp Cinnamon
- 1 tsp Nutmeg
- 7 cups Water
- 1/2 cup Lemon Juice
- 7 cups washed Gooseberries (if using fresh Gooseberries you will need to destem and remove the “tails” if this hasn’t been done already.)
Note – Clear Jel is the only safe thickening agent for canning pie fillings. It can sometimes be hard to source but some places that I have found that carry it include Amish bulk food stores and through Amazon.
Let’s Get Started
If using fresh gooseberries, it is recommended that you blanch them for one minute. To blanch the berries, bring a seperate pot of water to a boil, immerse gooseberries, start timer when water begins to boil again. Drain the berries and set aside.
Frozen berries can also be thawed and used to make canned pie filling. Simply thaw them prior to use.
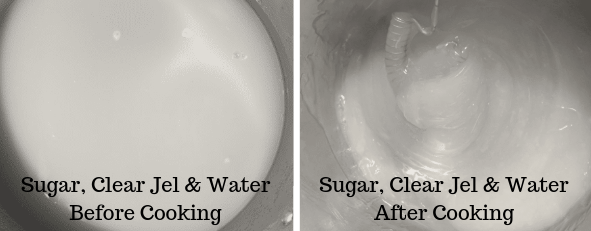
In a large stock pot, thoroughly mix together the Clear Jel, sugar, Cinnamon and Nutmeg with a whisk. Add the cool water and stir well.
Stirring constantly, cook the clear jel mixture over medium-high heat until the mixture begins to boil. Be sure to stir with a spoon or whisk that is fairly long as the clear jel mixture will pop some as it begins to boil. The Clear Jel mixture will become thick and transparent as it begins to bubble. At this point, add the lemon juice and boil for one more minute. Gently stir in the prepared gooseberries.
Ladle the Gooseberry pie filling into clean, prepared jars and process in water bath canner, leaving 1″ of headspace. Wipe the rims of the jars to make sure there will be a good seal. Prepare your jar lids by the manufacturer’s recommendations. Securely fasten jar lids and rings.
Process the Jars in Waterbath Canner
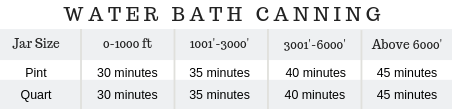
Be sure to start your timer when the water returns to a rolling boil after placing the jars in it. I have found that if I turn off the burner and allow the water bath canner cool some before removing the jars that I don’t have as much trouble with the pie filling venting out of the jars.
Last Step – Enjoy!

Blessings,
Jennifer