Saturday for the first time, I rendered lard. When we had our pig butchered, I had the butcherer save the fat trimmings for me. (This particular butcher no longer renders lard as they have little demand for it.)
Here’s how I did it:
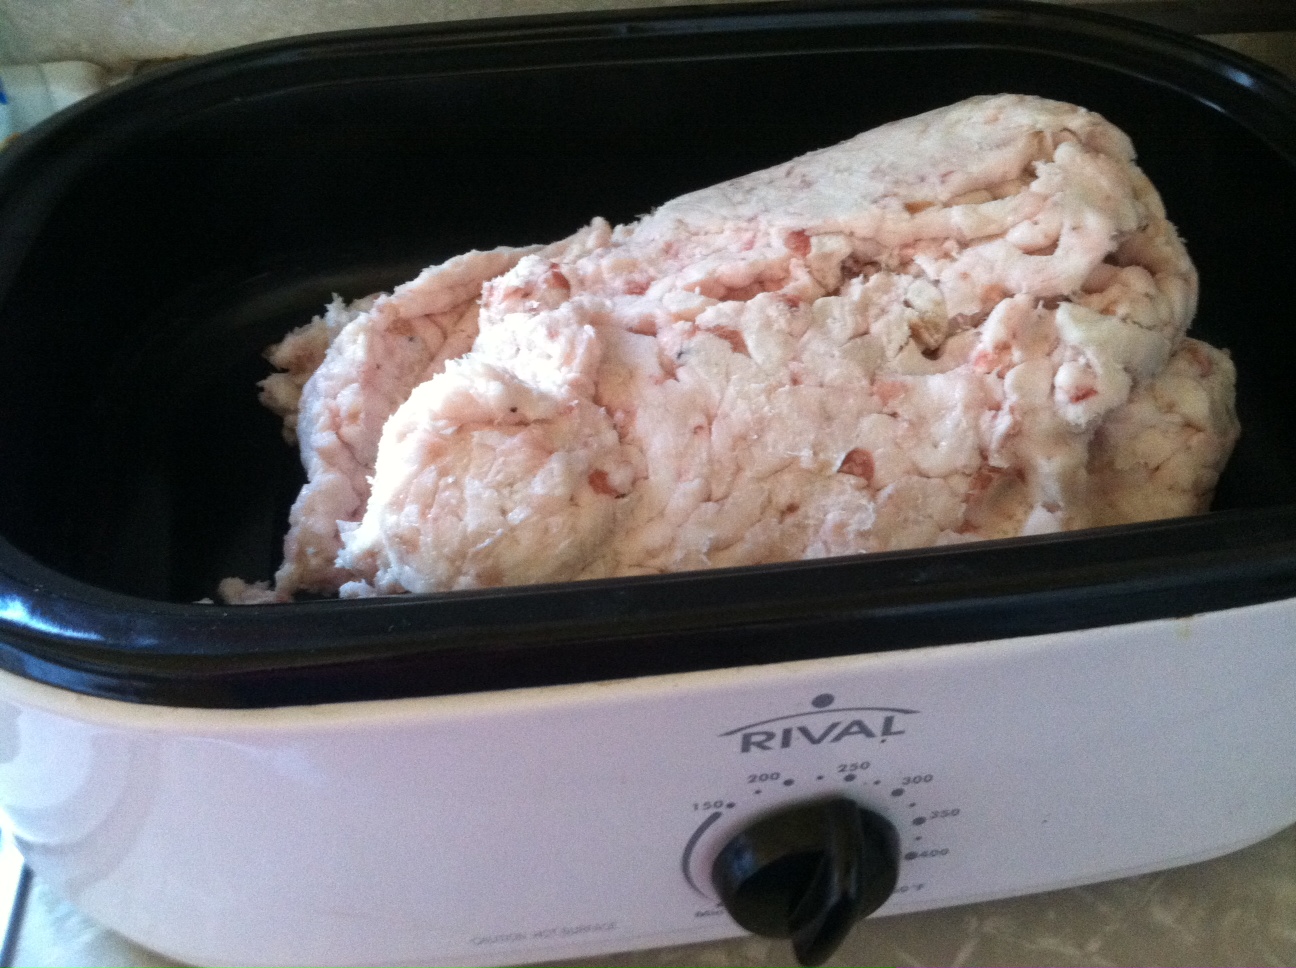
The butcherer ground the lard for me which makes it melt quicker. If your fat trimmings aren’t ground, then cutting them in small pieces is is a good idea. I placed the lard in my electric roaster and set it on 250* F.
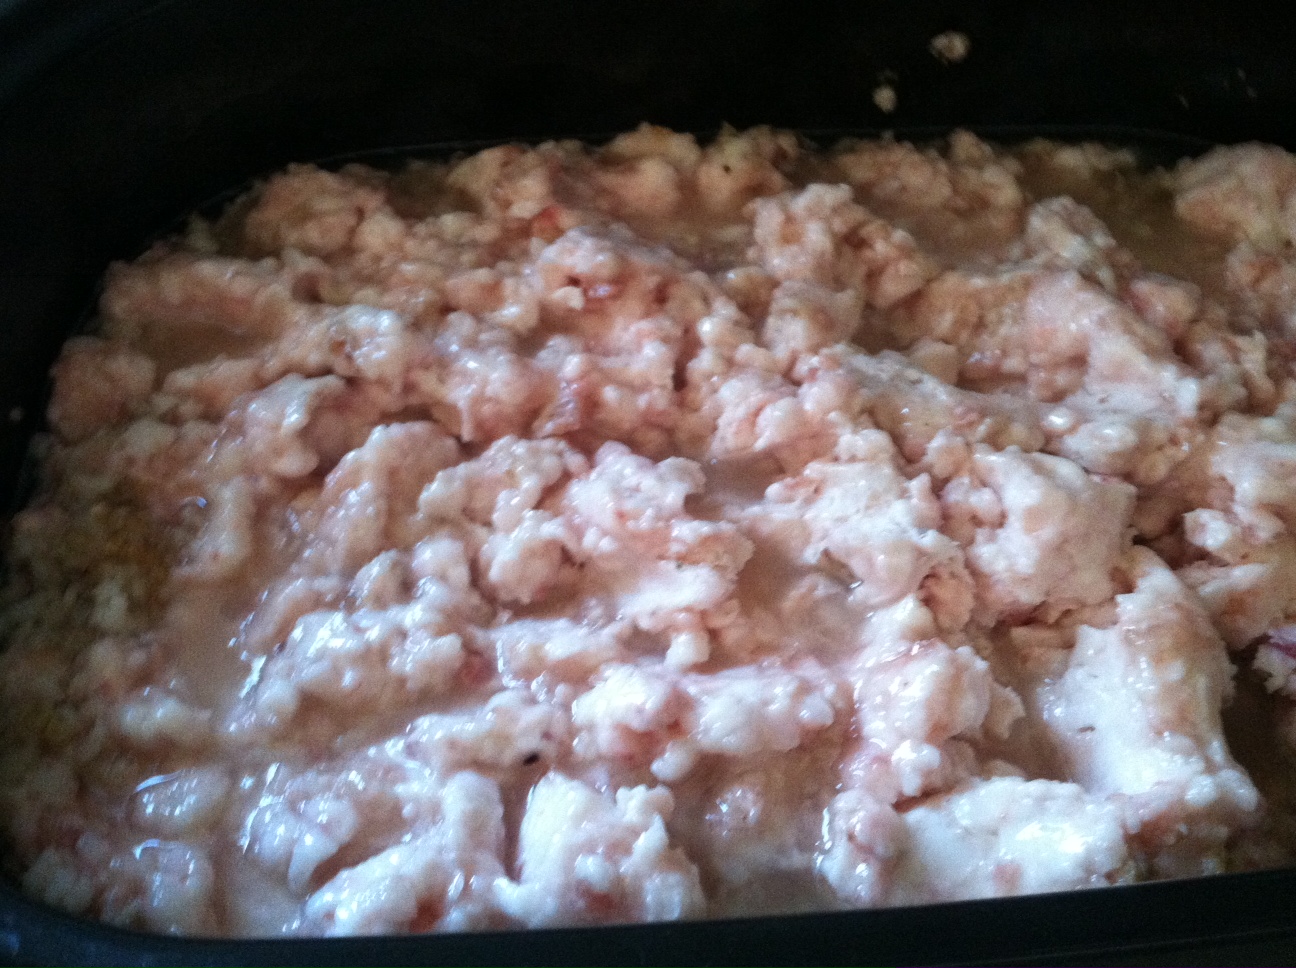
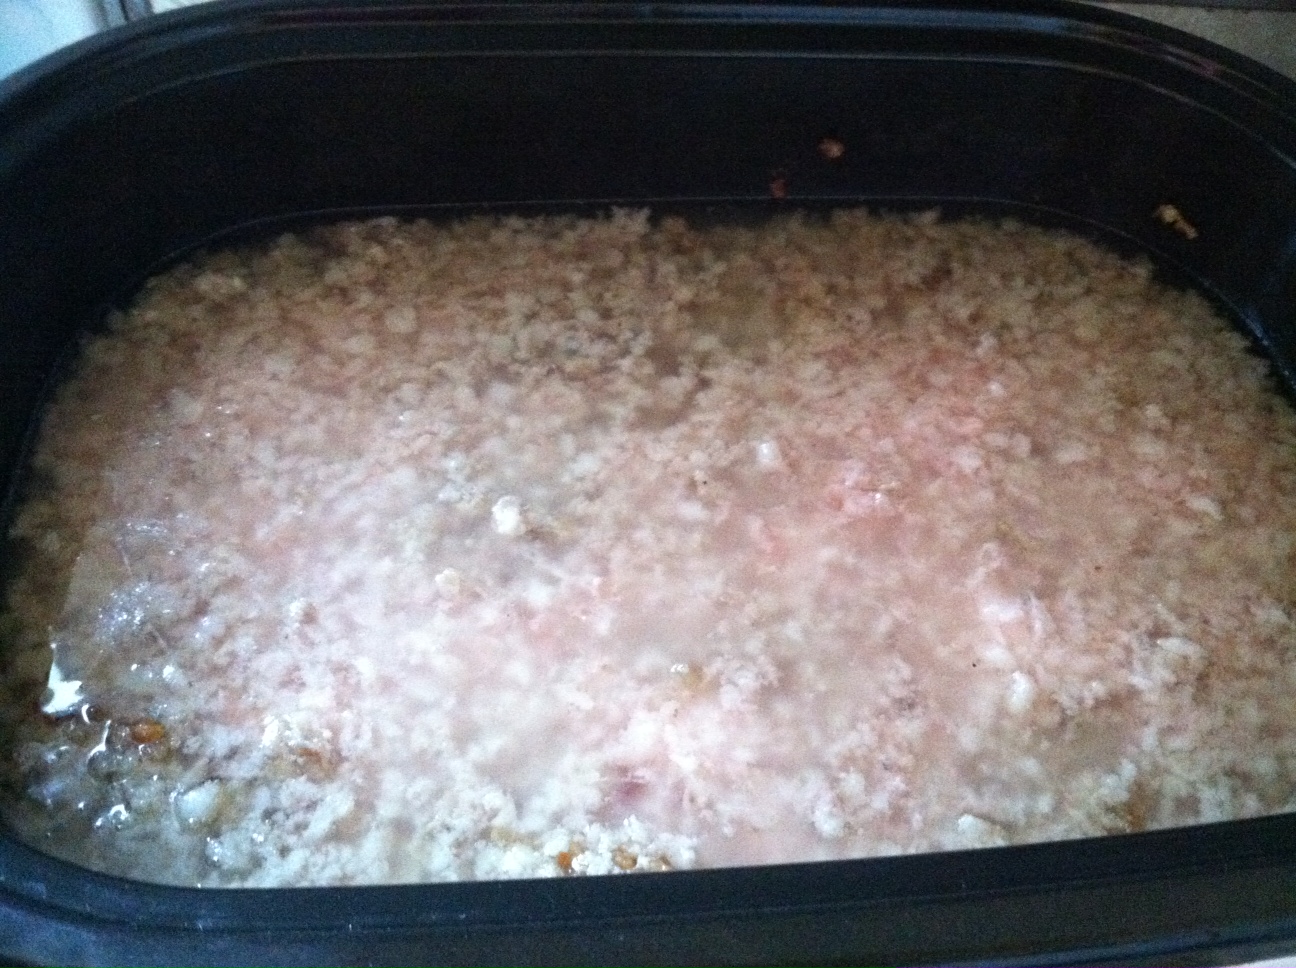
Periodically I would lift the lid and stir it as it melted, because my roaster gets hotter near the edges than it does on the bottom.
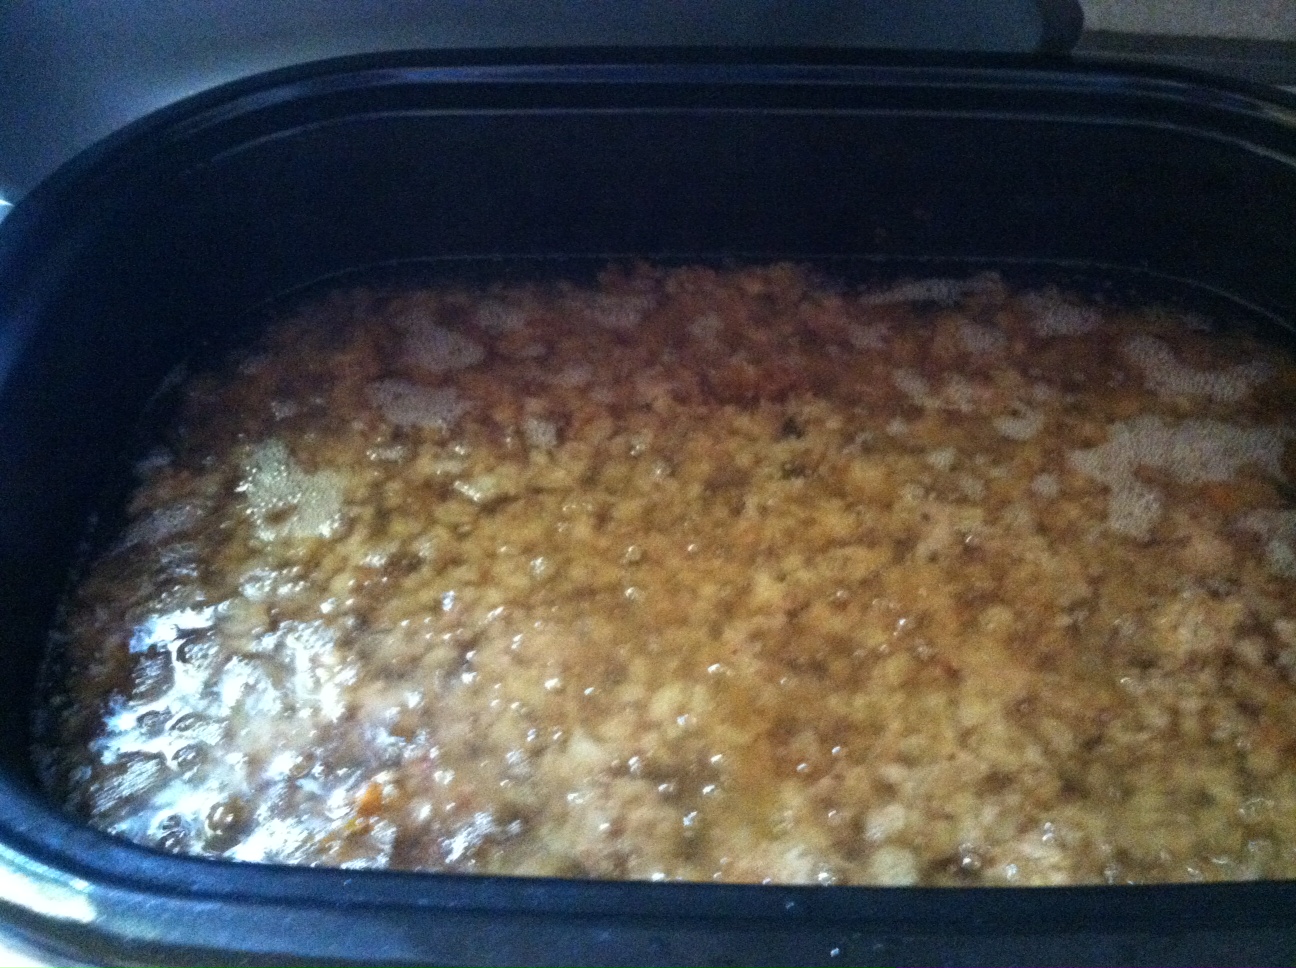
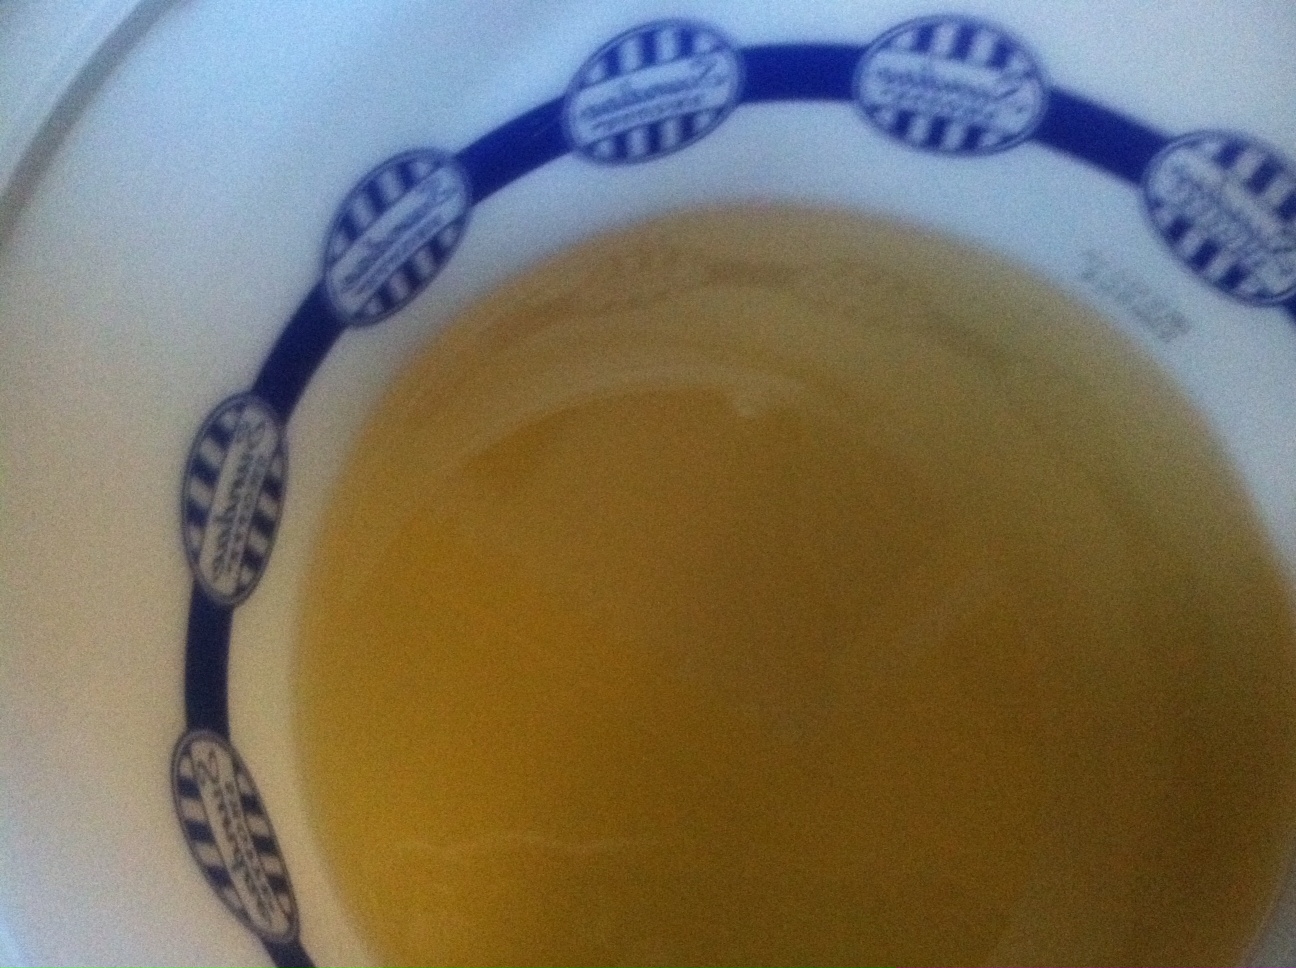
You can see that as it melted the lard became transparent and the cracklings began to appear. Once it had all melted, I used a slotted spoon to remove the cracklings. After the cracklings were removed, I turned off the roast and let the lard begin to cool. This took several hours, much longer than the melting took. I ladled it into an ice cream bucket, when the lard had cooled to just above room temperature.
I stilll have more lard to render but I am no longer intimidated about this job. I kept putting off trying it because I was sure I would burn it or otherwise ruin it. I am so glad that I finally tried to render lard.
What task have you been putting off because you wonder if it will be too difficult?
This year I hope to become proficient on some new tasks that “I have always wanted to do.” Won’t you join me?
Jennifer
Linked to:




So what do you do with the rendered lard?